I was recently asked to do a live segment on the Charlotte Today show to share some tips and tricks for taking better pictures of your pet. I was super excited because it is so important to have great images of your pet even if hiring a professional isn't in the budget. If this is something that interests you, check out the segment for more info...
First of all, I want to thank Charlotte Today for having me on the show. I did a pre-taped segment last year (the one they used to introduce me) and I was unbelievably nervous (as you could tell by my tied tongue). So of course I was even more nervous to find out I would be on live television!!! What!?! Freak Out! As I walked into the studio, I could feel my heart pounding out of my chest. I thought I might have a heart attack. Then things quickly got better.
The staff at the show were seriously amazing. They were warm and welcoming, so sweet, and more than attentive - even with being short-staffed by 3 people. They made me feel right at home with their help, direction, compliments, and so on and so on. My nerves seemed to melt away! I had to take a minute to myself and take it all in. I'm so grateful that I was allowed to be on the show and I really appreciate everyone (and of course all of the pets) that have helped me get to where I am in my business. It has been a very long and hard road but I keep walking it everyday. Thank you! <3
Now back to business! :)
Just to recap the show, here are the 5 tips that will hopefully help you take better pictures of your pet... :)
1. Use Natural Light/Turn off Your Flash
Natural light is your best friend when it comes to pet photography. Flash can scare your pet or, even worse, give your pup or kitty those freaky glowing eyes. Try placing your pet near a window or go outdoors during the golden hours - the hour right around sunrise or sunset. Golden hour light is nice and low in the sky with a warm, even tone.
 2. Get Down on Their Level
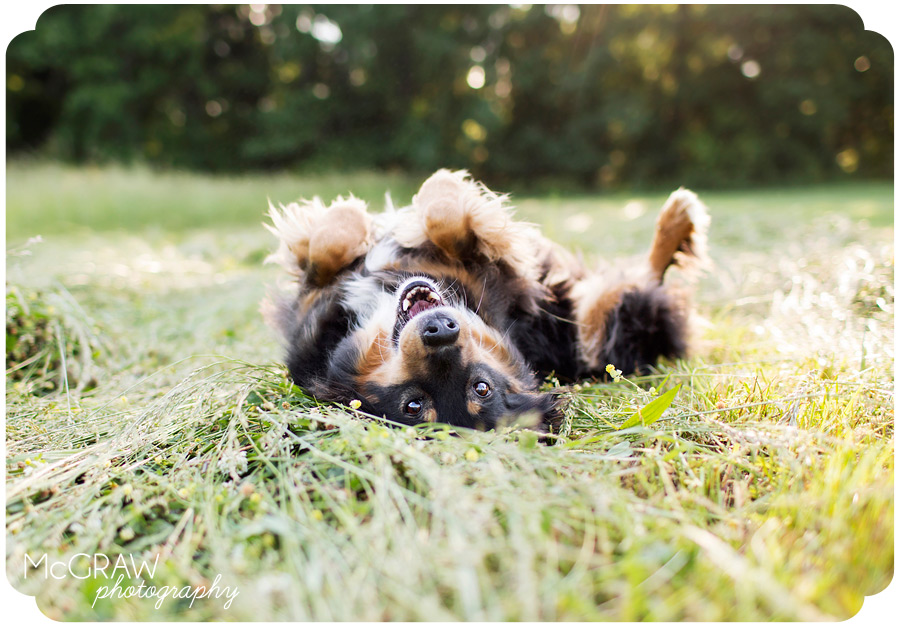
Be prepared to get a little dirty. Lol! Try something different and lay down, squat, or sit in front of your pet. It will give a whole new look to the image!
 3. Shoot Tight/Middle/Wide
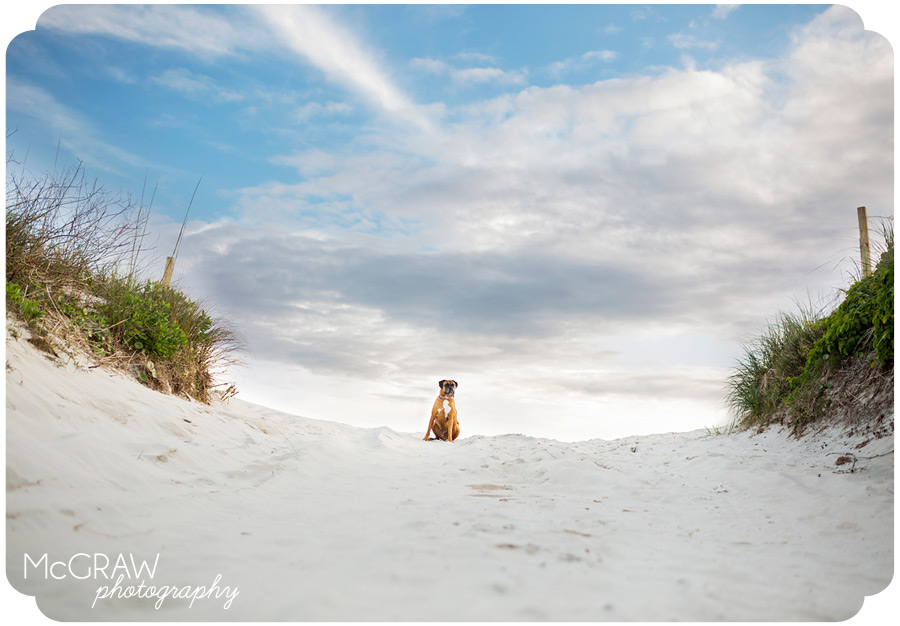
You can get three different shots without needing your pet to move! Sweet! Shoot tight - a headshot - then either move back or widen your lens. Then shoot a mid shot - include the body and some of the background. Then move back or widen your lens again. Now you can include quite a bit of the background for a nice artistic image.
 4. Use Treats, Toys, or People to get Your Pup's Attention
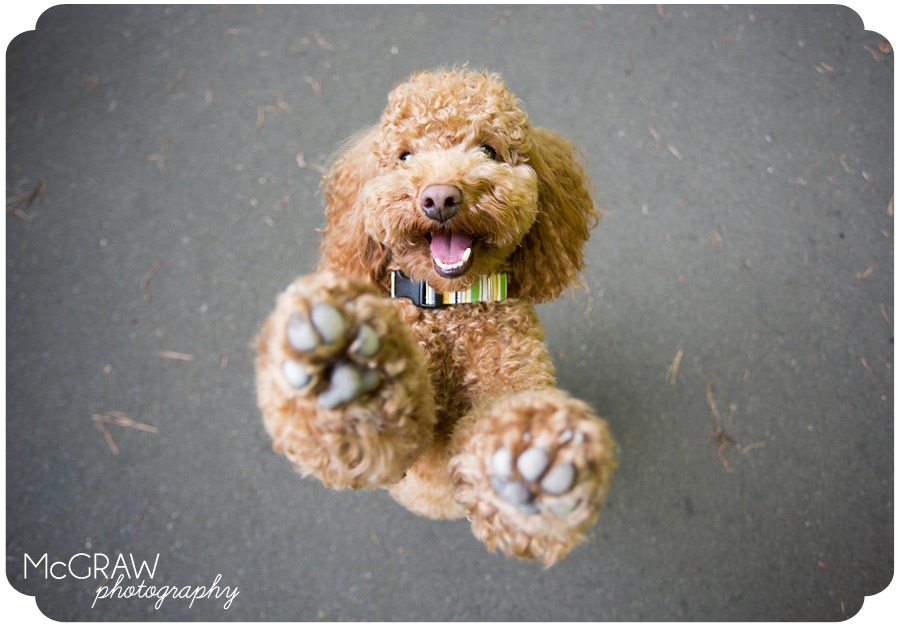
Hold a treat or toy right above your lens to get your pet to look right at the camera. You can also hold it out to the side or have someone walk over to where you want your dog's gaze to go. Funny noises work great too! Don't forget to reward your pet if he/she does what you want!
 5. Know Your Camera!
Try reading the manual and play around with those weird looking settings. Try using AV, TV, and M modes. AV mode means aperture-priority. Aperture controls the depth-of-field so you can get the eyes in focus while blurring the background. TV mode is shutter-priority mode which is great for controlling action. M is manual which means you control it all! Experiment and see what changing the numbers does!
 The Bonus tip is to be patient and have fun!!!! Learning photography can be tough and frustrating but it is sooooo worth it in the end! I hope these tips help!
And many, many thanks again to Charlotte Today for inviting me to the show. You guys rock! I also want to thank my family, friends, and Facebook fans for all of the sweet messages, emails, and texts that I got after the show. You made me feel like I should be on TV! Haha! ;)

